

Start crochet at the very beginning with choosing the right crochet hook
It’s no secret that crochet and knitting are the trend in hobbies right now. You see crochet creations on social media and in shops and online. Have you every wondered how someone made it? Keep reading because I am going to take you through the adventurous world of Crochet!
So, what is crochet?
So what is crochet? According to the Craft Yarn Council (CYC); Crochet is when,
“You start by making a slip stitch, wrapping the yarn around the hook and pulling a loop through the slip stitch. This is the basic chain stitch. A series of chains creates a foundation row and from this base you build rows of stitches… You can crochet in rows, keeping your work flat, or you can join your stitches, creating a ring and work in the round.”
craftyarncouncil.com/knit_vs_crochet; education; learn to knit and crochet; knit vs. crochet
Obviously there is so much more to this craft than just wrapping your hook with yarn and making loops connect together… Yes there absolutely is! There’s going hunting for the right yarn, and getting lost on Pinterest browsing all the amazing things you are going to make. And we will get to all of that in time. For now lets take it slow and talk about crochet hooks.
What is a crochet hook?
Your crochet hooks are the number one tool in your crochet tool bag. With a hook you can crochet any material that is flexible enough to be worked in to knots. I’ve crocheted with wire, fishing line (spider wire is great!), ribbon, jute, you name it! The material you choose to use (yarn, etc.) will determine the size of the hook you need.
A crochet hook has four main parts and four sub parts. The main parts of a hook are the handle, thumb rest, shaft, and the head. The sub parts of a crochet hook are found on the head and referred to as the throat, the bowl, the point and, the lip.
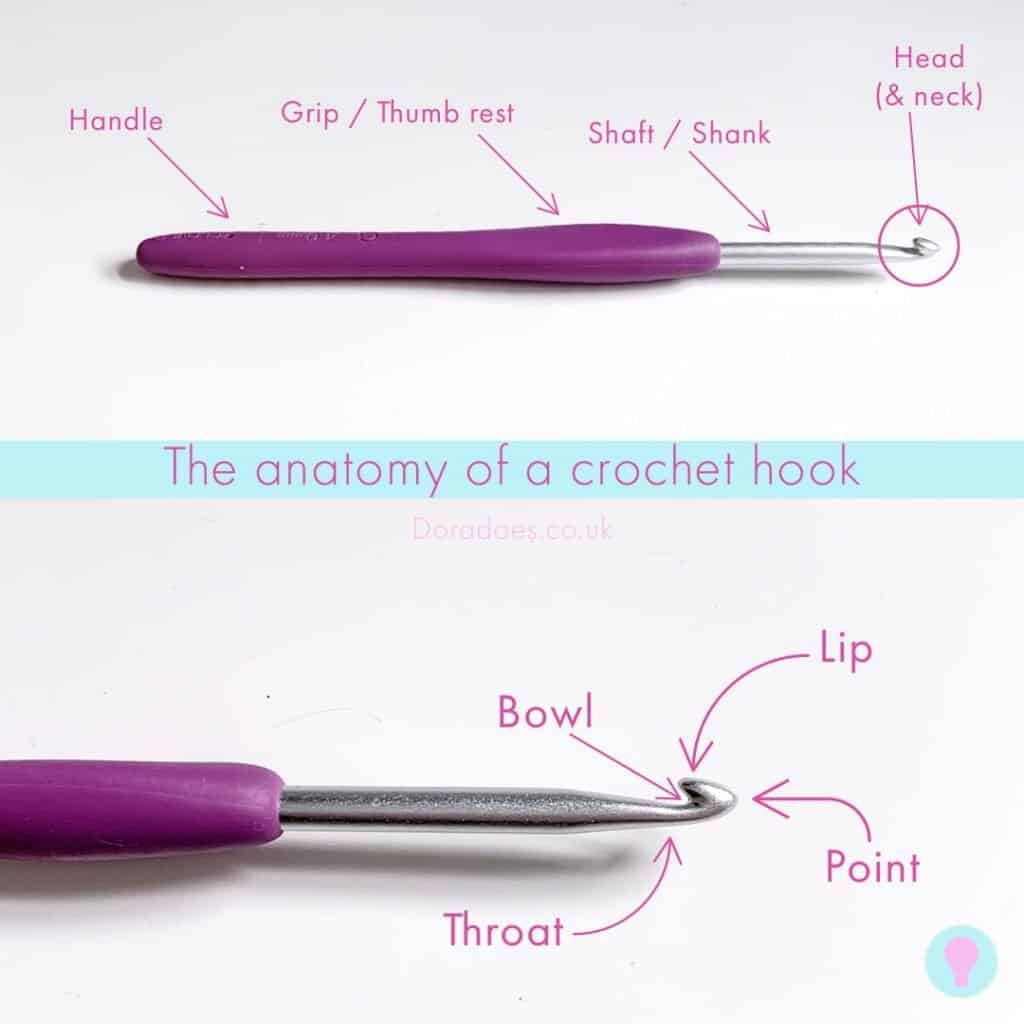
The handle is what rests in your hand. The thumb rest is where you will place your thumb, it usually but not always had an indention. This indention will help you keep a grip on your hook and make it easier to control the hook as well.
The shaft connects the handle and the tip of the crochet hook. While you crochet you will notice your yarn likes to slide along the shaft, this allows the crocheter plenty of space for working different size yarns and more than one stitch at a time if needed. The diameter of the hook shaft is the “gauge” of the hook, you will see this labeled in mm, numbers/letters. This part of the hook determines the size of your stitch and what we refer to when we talk about hook size. When crocheting stitches, it is important that you wrap your yarn around this part of the hook or your stitches will not be the correct size and your project may not come out correctly.
Hook heads consist of the Lip, Bowl, and Point and divided into two categories, Inline and tapered.
The Bowl is the slanted part that extends from the shaft to the lip. Although it does not seam like it has any significant purpose it in fact does. Its a matter of physics. As you yarn over and pull your hook through your loops, this nifty little groove allows the lip to pass through with ease. With too much tension, you will tighten the stitch with can effect your stitch outcome. But with practice you will master the technique and eventually be able to use this to your advantage.
The point is the first thing to enter as you insert the hook into a stitch. Sometimes its pointy and sometimes its has a more rounded tip. Deciding which is right for you is a matter of trying them out.
The lip is what holds the yarn on your hook while you pull the yarn through the stitch you are working into. It is shaped like a hook as apposed to knitting needles that are straight with a tapered end. Some lips are pointy and some are more rounded. Pointy points tend to have pointy lips and rounded points tend to have rounded lips. (yes I just did that)
All together these components work together as a unit with your help to open up a whole chest of fun and creativity! With some patience you will find the right hook for your style and needs as a crocheter.
Choosing the Right Hook
Knowing what size hook is the first step. Deciding the style of hook comes next. Hook styles are how the hooks are made and their shape. The shape, weight, balance, and material used such as nickel, aluminum, wood, plastic, acrylic… all have an effect on how you will use the hook to crochet your project.
Finding the right hook for you is a journey that is all yours. You will have to test out hooks and practice using them until you find the perfect match for your hand comfort, rhythm, and how you prefer to hold your hook. I can give you a head start in deciding what hook is right for you by walking you through the types of hooks that are available out there and how they differ in style, material, and economy.
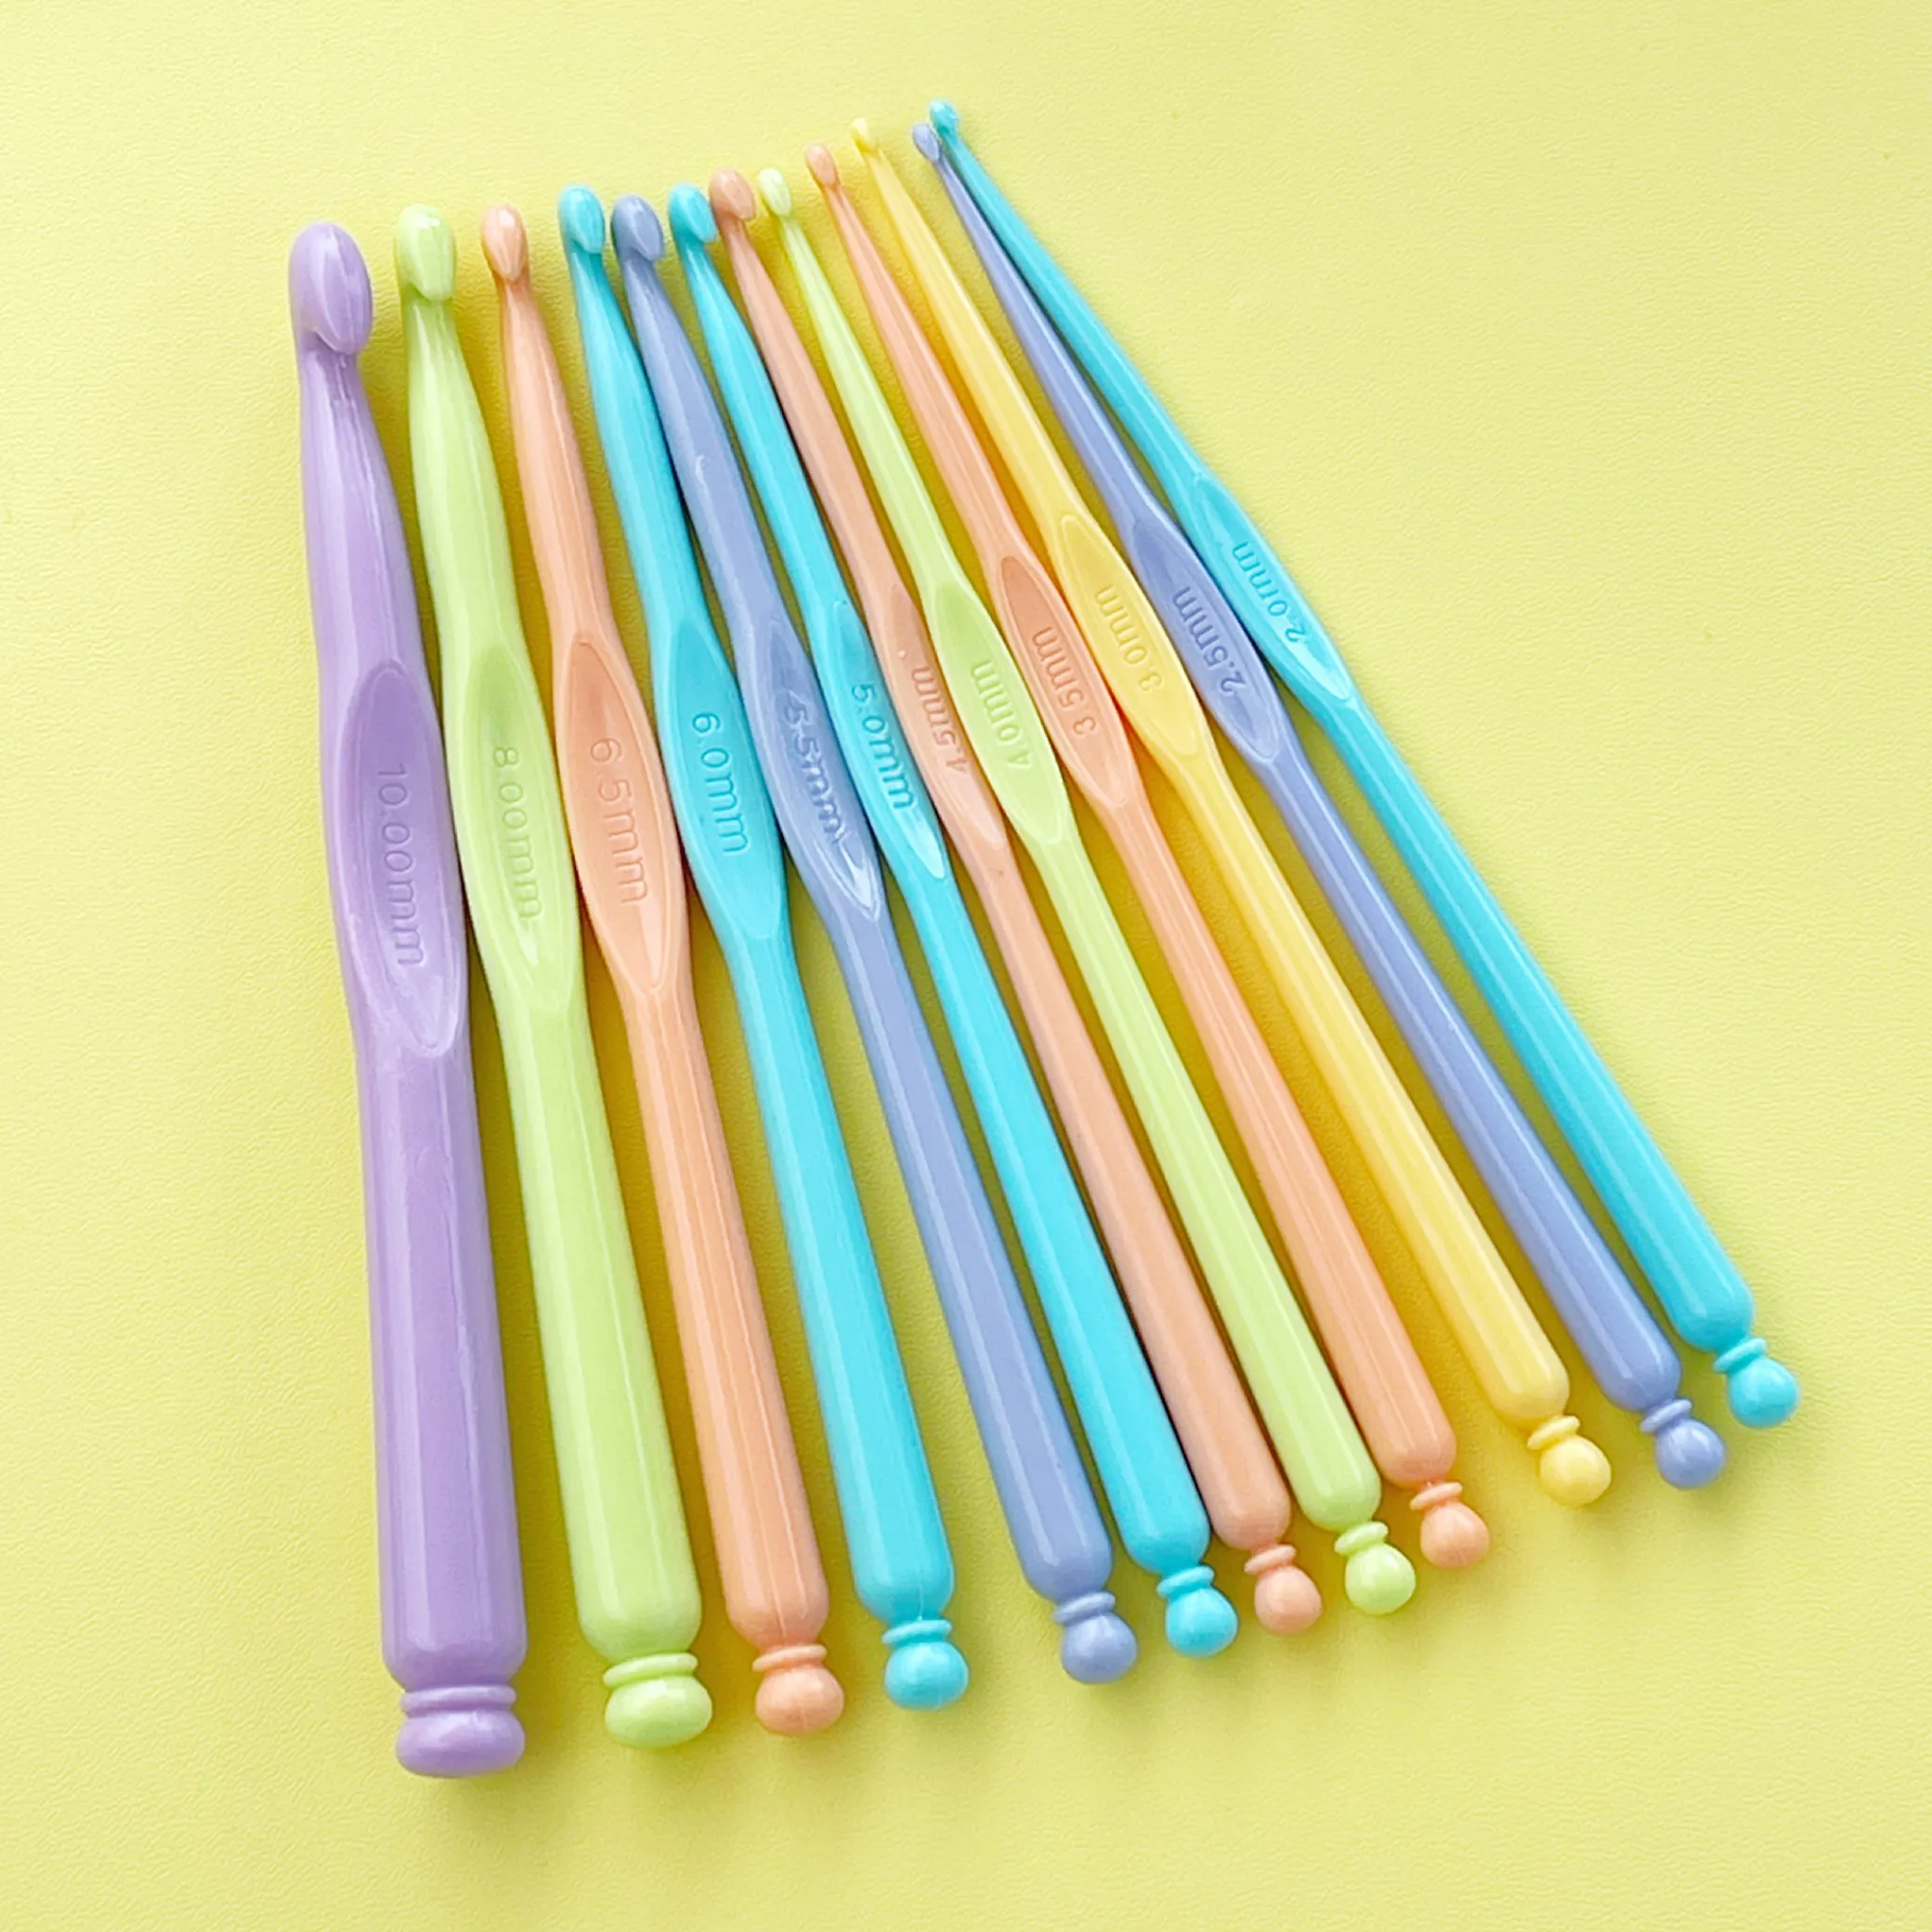
Let’s talk hook materials!
Most often hooks are made of metal, plastic/ acrylic, or wood. Less common are hooks created from glass, ivory, or even bone. I believe the less common hooks are found when searching out heirloom hooks that can be found searching the internet
Metal hooks generally are made out of aluminum or steal. This hooks work well with most yarn because they allow the fiber to slide easily across the shaft and off the head. They are a favorite among beginner crocheters because they are easy to use and don’t cause any issues while you focus on the the technique of crochet.
Plastic/ acrylic hooks are less expensive than metal hooks but where you benefit in price you sacrifice quality. Plastic hooks may have ridges and burs left behind from production that can snag the yarn and ruin a project. I also find that as I am crocheting with a plastic hook the friction causes the hook to warm up a tiny bit. The friction is just enough to cause the yarn to stick to the shaft and I get more drag which can interfere with tension.
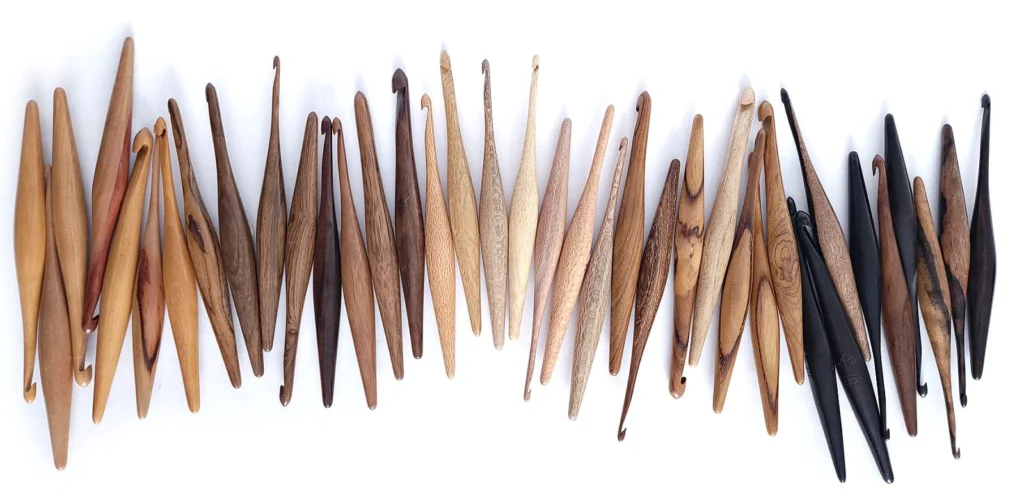
Wood crochet hooks can be a dream is constructed properly. I have a few that I ordered off Etsy and I absolutely love them. They are hand turned on a lathe and polished for a flawless finish. These hooks come in a variety of options from ebony, beech, rosewood, bamboo, the list goes on. My advice on purchasing wooden hooks is to read reviews from other purchasers. You can get a better understanding of how their product behaves and if it will effect your crocheting.
I don’t have experience working with glass, bone, or ivory so I am not much help there. I searched on Google and found many videos on YouTube where people gave reviews though.
Types of handles
When it comes to handles crochet hooks tend to follow the nature of the material they are made of. But to be more specific, there are differences depending on the style and brand you choose.
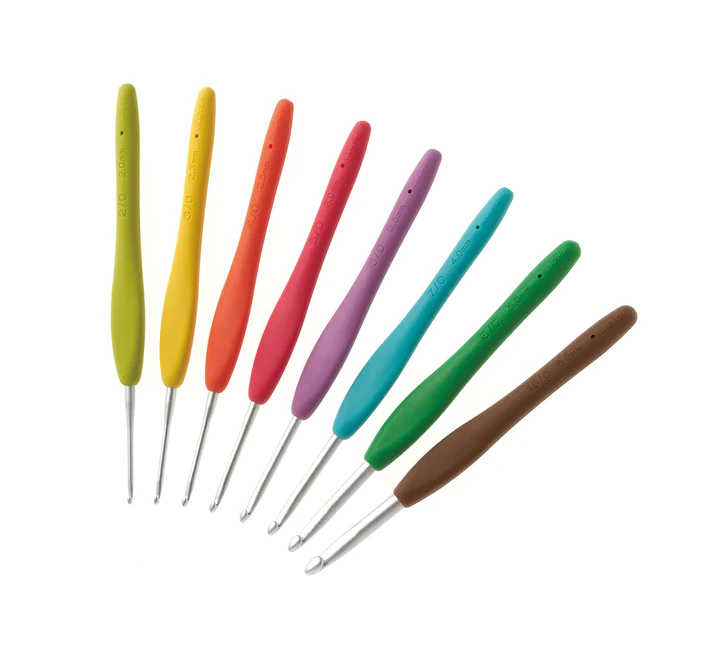
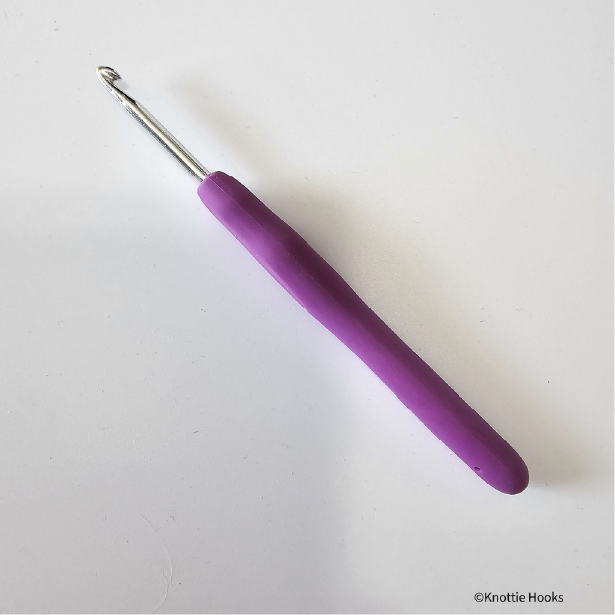
Padded Handles
These hooks give the crocheter the convenience of a metal crochet hook and the comfort of ergonomic design. They are my go to hooks, I work mostly with lighter yarns so I’m comfortable with a smaller hook with a padded grip. I get the size I want without the worry of my hook making my hand cramp or slipping from my grip. Padded hooks also allow me to hold my hook in any style while remaining comfortable with a relaxed hand.
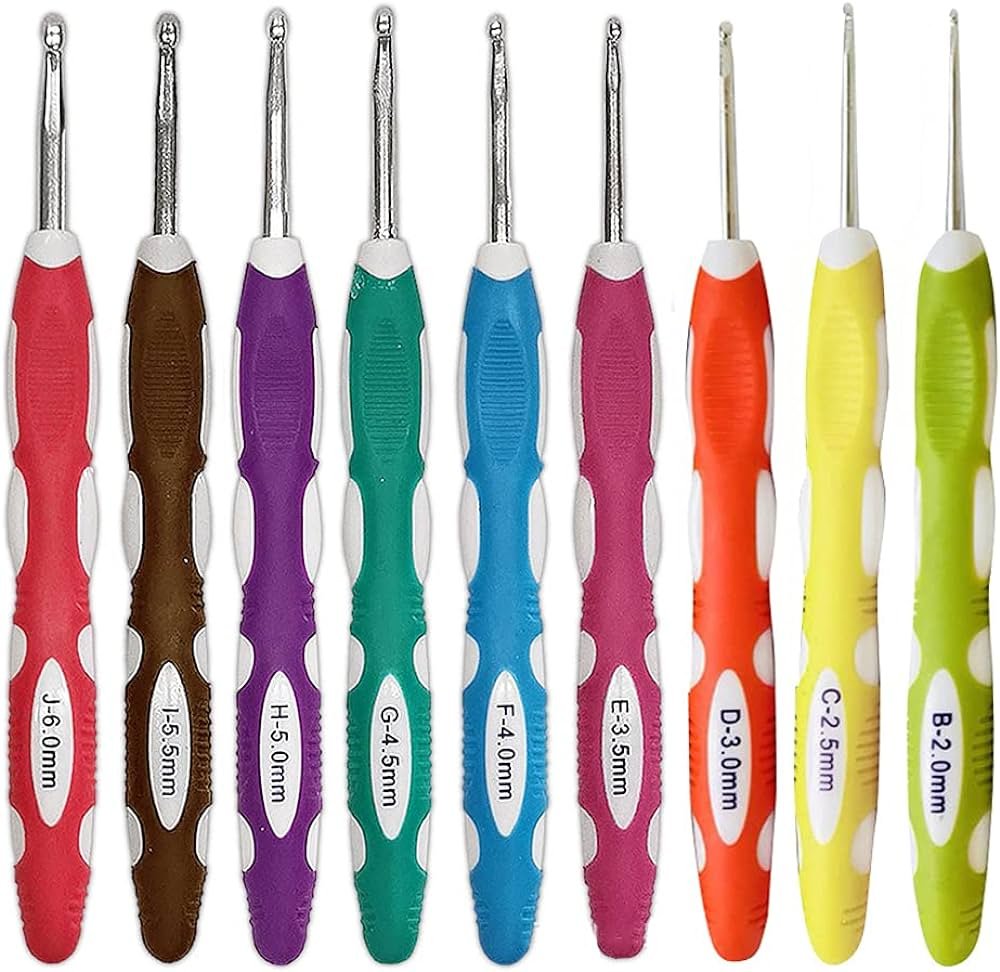
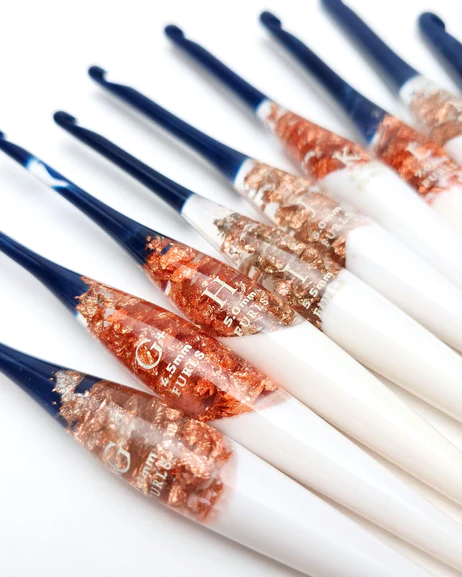
Ergonomic Handles
I chose specifically not to combine padded handles and ergonomic handles on purpose. Although padded handles can be classified as ergonomic, they are not what I think of when I hear this term. In my own opinion this style of handle refers to crochet hooks with a larger griping area, but not a larger hook size.
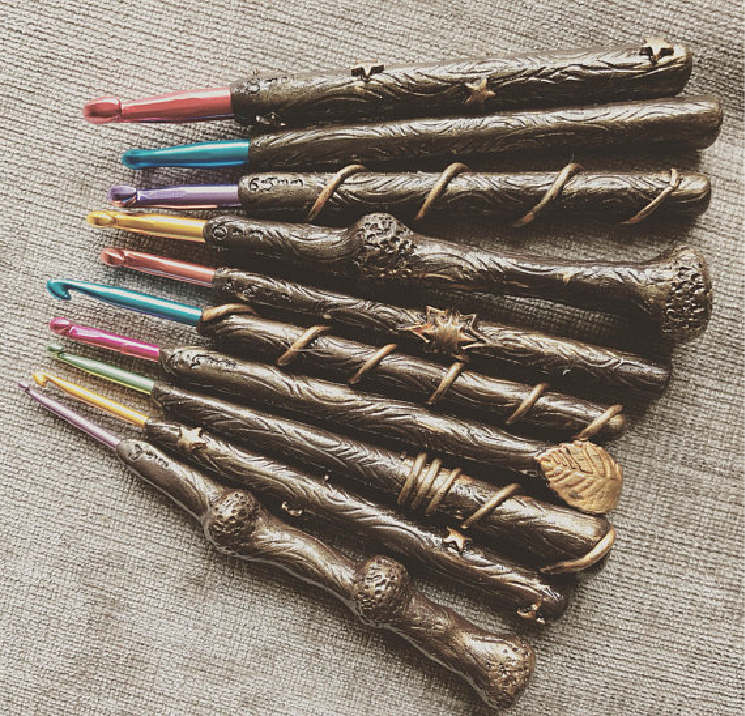
These hooks tend to be hand crafted, or specially designed just for the purpose of relieving joint stress and injury from repetitive movement. Or are an add on you can slide over your hook to give it more bulk making your hook more comfortable to grip. The images below are some examples of ergonomic hooks and add on grips.
Plain Ole Handle
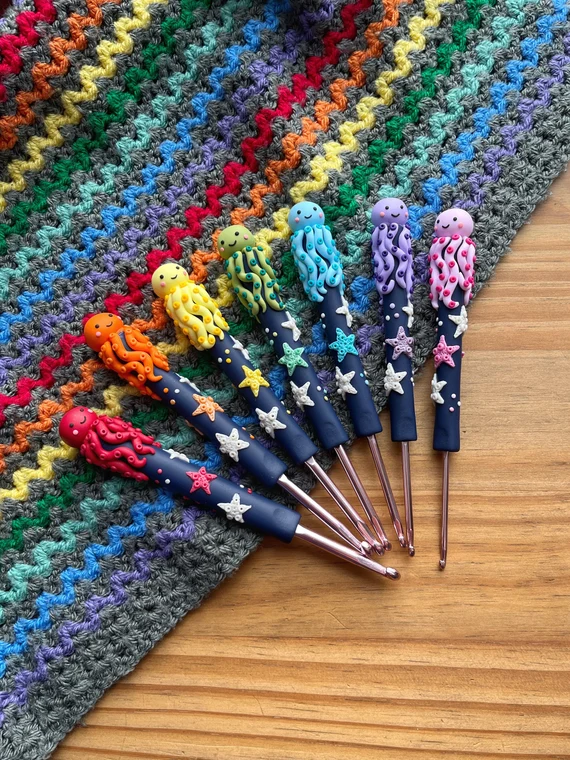
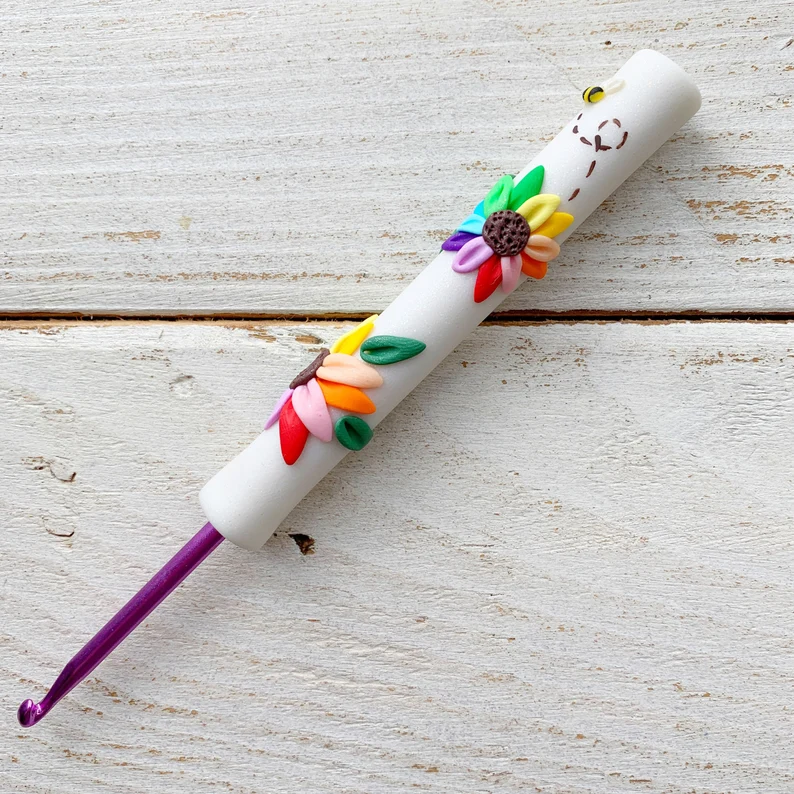
A plain ole boring handle might just be what you need. These hooks don’t have anything special about them and that’s ok! They are sold in most stores that sell crafty things and can be modified, if you’re feeling extra crafty. May be you have a favorite hook but it is falling short of the comfort factor. Go ahead, modify it! Make it right for you. There are no rules saying you can’t change your hook to make it perfect for you. Just know that anything you do to change the structural integrity or original design of your hook will prevent you from returning it because it has been altered. So before you go slapping polymer clay on things, or going all Harry Potter, make sure its what you want…
Inline vs. Tapered
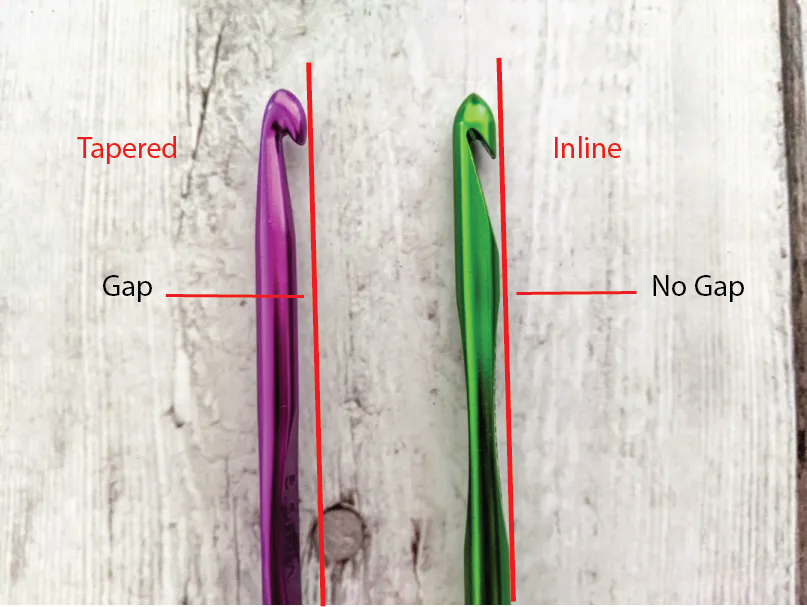
Inline hooks are exactly how they sound. Their entire body is in line from one part to the next. The best way I can explain this is that the diameter of the hook head is the same as the shaft. A tapered hook head is just a little bit larger and the lip is raised just a little more than the shaft. See the examples below for a better idea of how this looks.
Time to find what’s right for you!
Ok, so now you know all about hooks. But I still didn’t tell you how to choose the right one! That’s because… I can’t. But I have shown you a whole lotta information you can use to decide where you should start.
It wouldn’t be fair if I just sent you off without a little bit more advice though. So here it goes. This is strictly my opinion. Base the beginning of your hook search on what you use for a writing utensil. If you need a larger writing utensil then consider getting a fatter hook, or adding something to your hook to make it easier to hold and use. The same goes for smaller writing utensils, choose a thinner handle of hook to start and see how it goes.
Check with your local library or crafting groups and see if someone has hooks you can test out. Crochet should be relaxing and fun, it should not hurt or cause you discomfort. Remember to take breaks and move around, keep the blood flowing. I will have later posts on healthy crochet habits later so keep an eye out for upcoming posts on teaching yourself to crochet!
Ready for more?
You made it through your first lesson in teaching yourself to crochet! If your ready to move on to the next step go get a hook and some yarn and I’ll see you over at the next lesson on teaching yourself to crochet “All About the Slip Knot“